kirra-docs
Editing Holes
Once holes are on the canvas — whether manually placed, imported from a file, or generated as a pattern — you can select, move, modify, and delete them individually or in bulk.
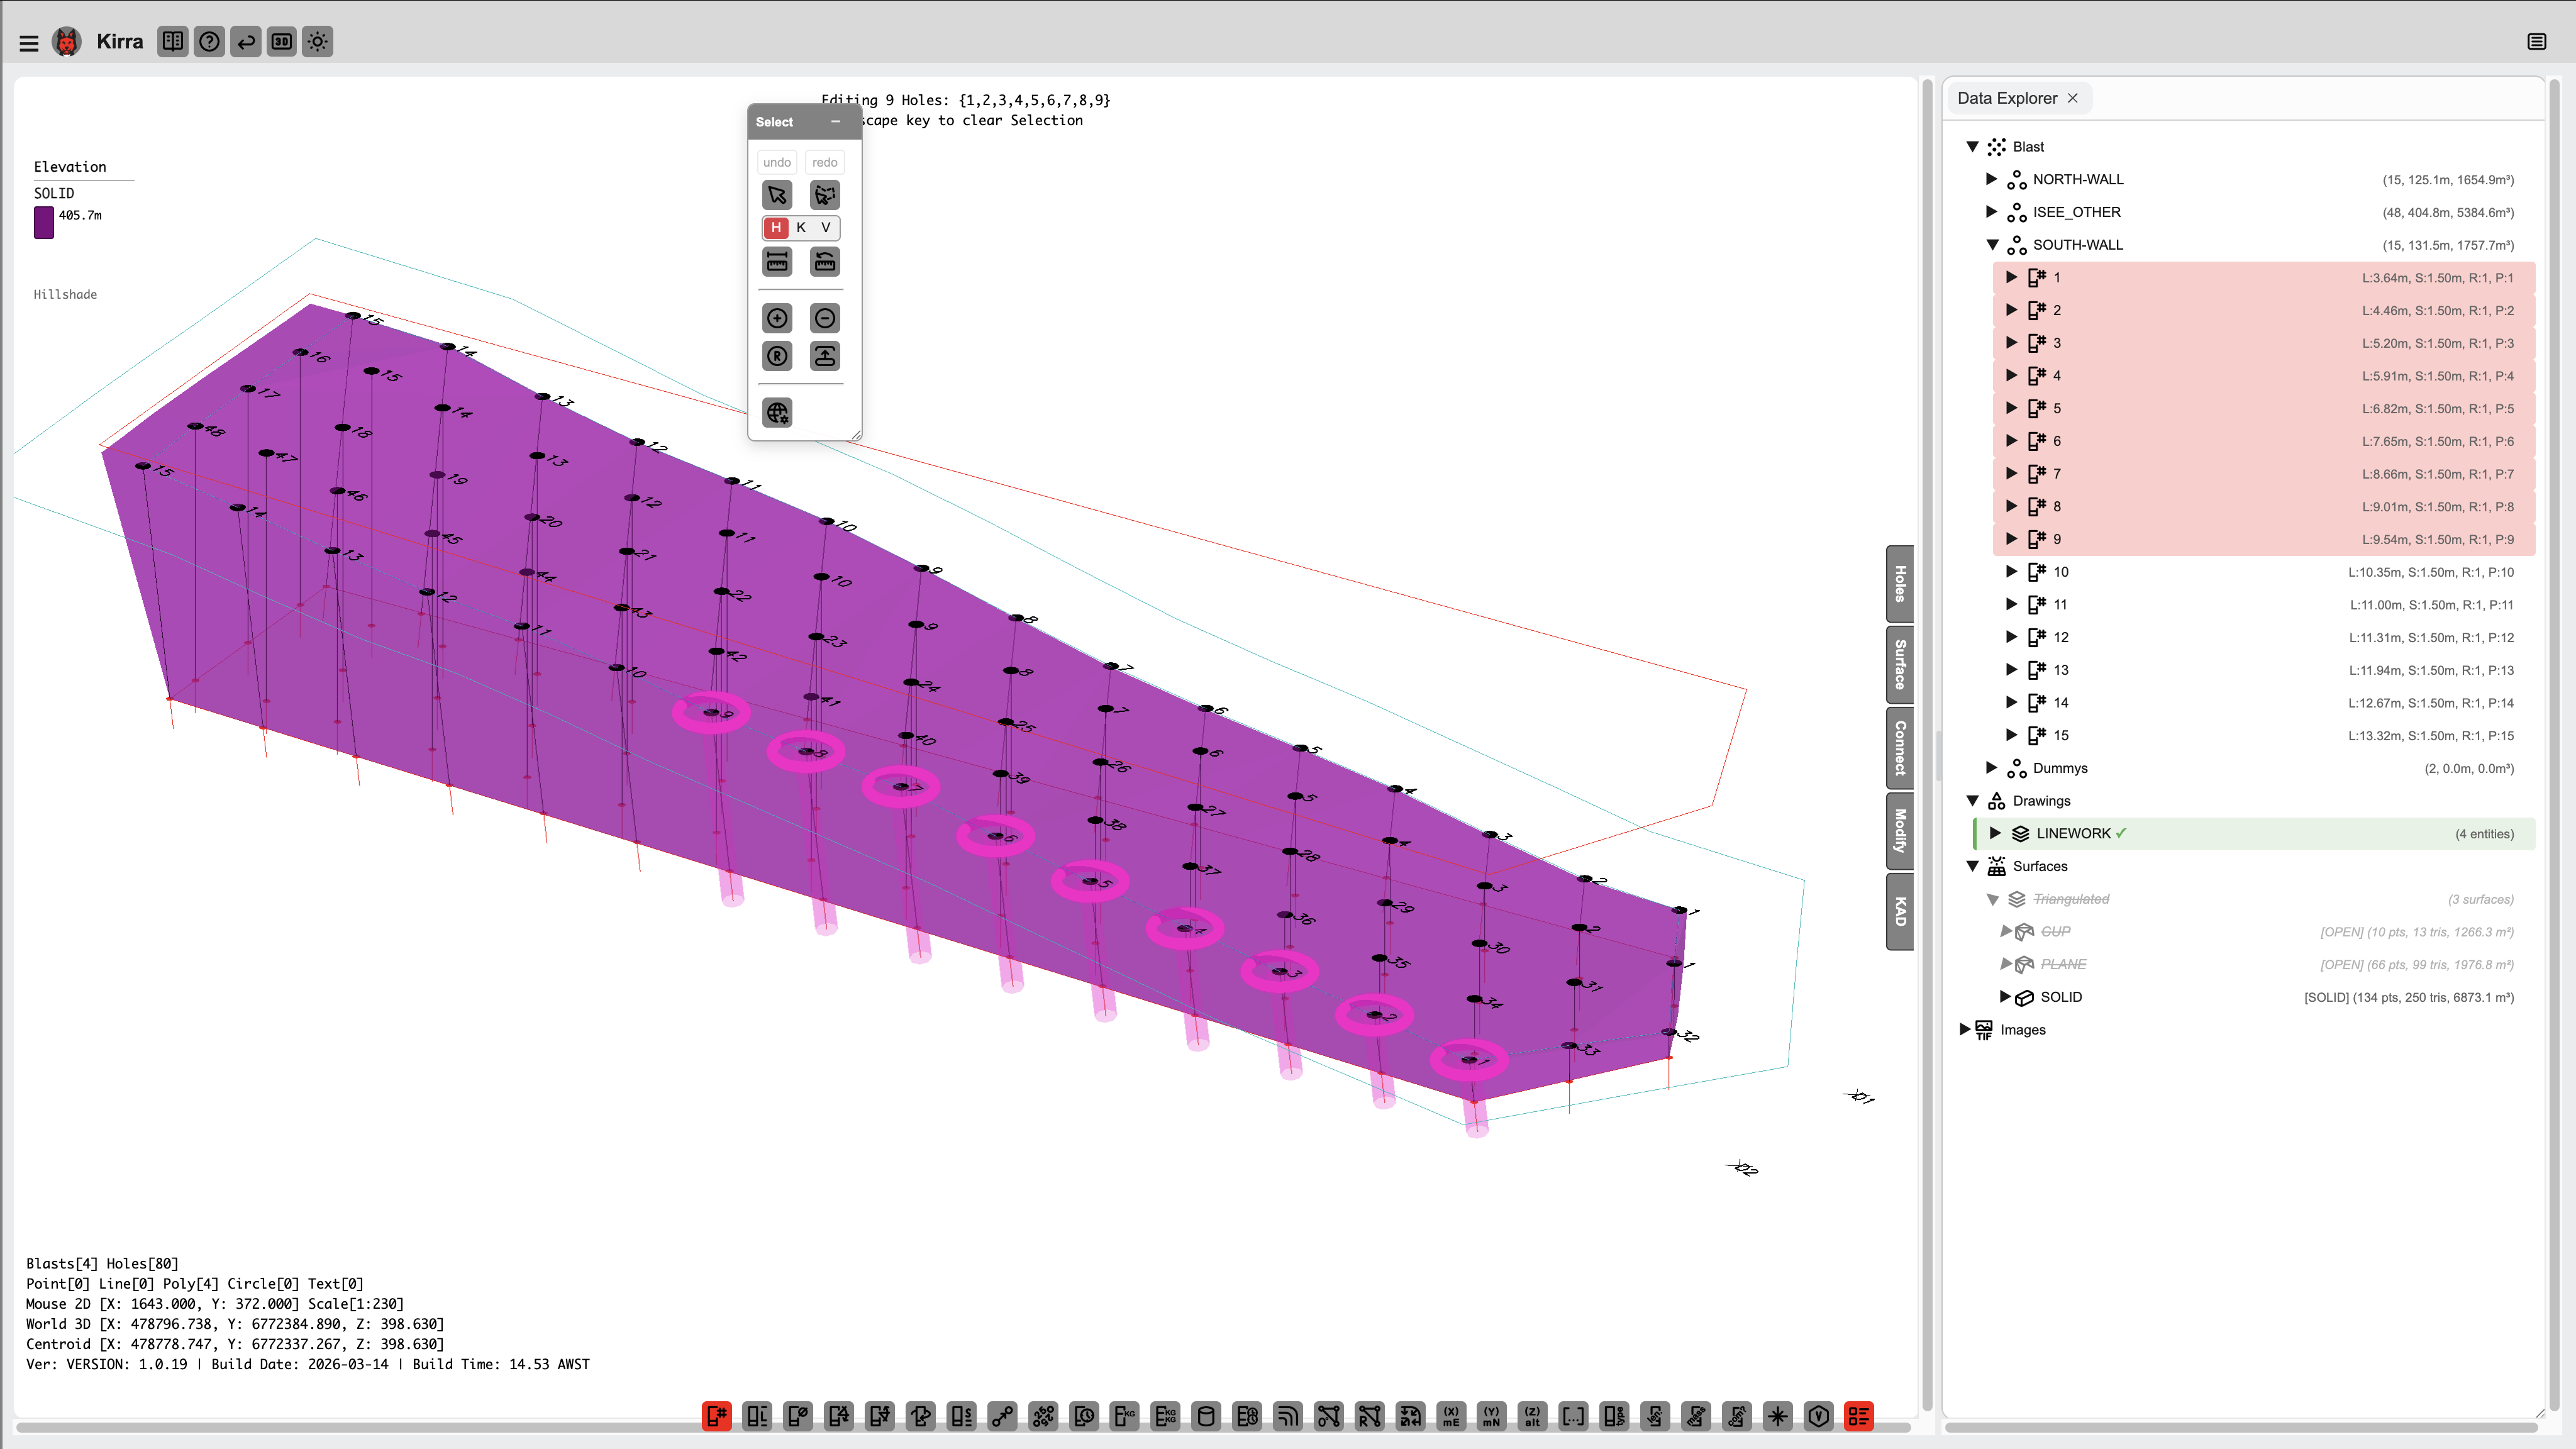 Selecting entities in the Data Explorer highlights them on the canvas.
Selecting Holes
Single Selection
- Click any hole symbol on the canvas
- The hole highlights in the selection colour (default: orange)
- Properties appear in the right panel
Multi-Selection
| Method | How |
|---|---|
| Shift+Click | Add individual holes to the current selection one at a time |
| Box select | Click and drag a rectangle on the canvas — all holes inside are selected |
| Ctrl+Click | Toggle individual holes in or out of the current selection |
| Ctrl+A | Select every hole in the project |
| Select Row | Right-click a hole and choose Select Row to select all holes sharing the same row |
TreeView Selection
The TreeView panel on the left shows all entities (patterns) and their holes in a tree structure.
- Click an entity name to select all holes in that pattern
- Click an individual hole node to select just that hole
- Hole nodes in the TreeView use the ID format: the entity name and hole ID separated by a special delimiter
Tip: Use the TreeView to quickly find and select holes by name, especially in large patterns with many overlapping holes.
Viewing Hole Properties
Right-click a hole to access its properties and context menu:
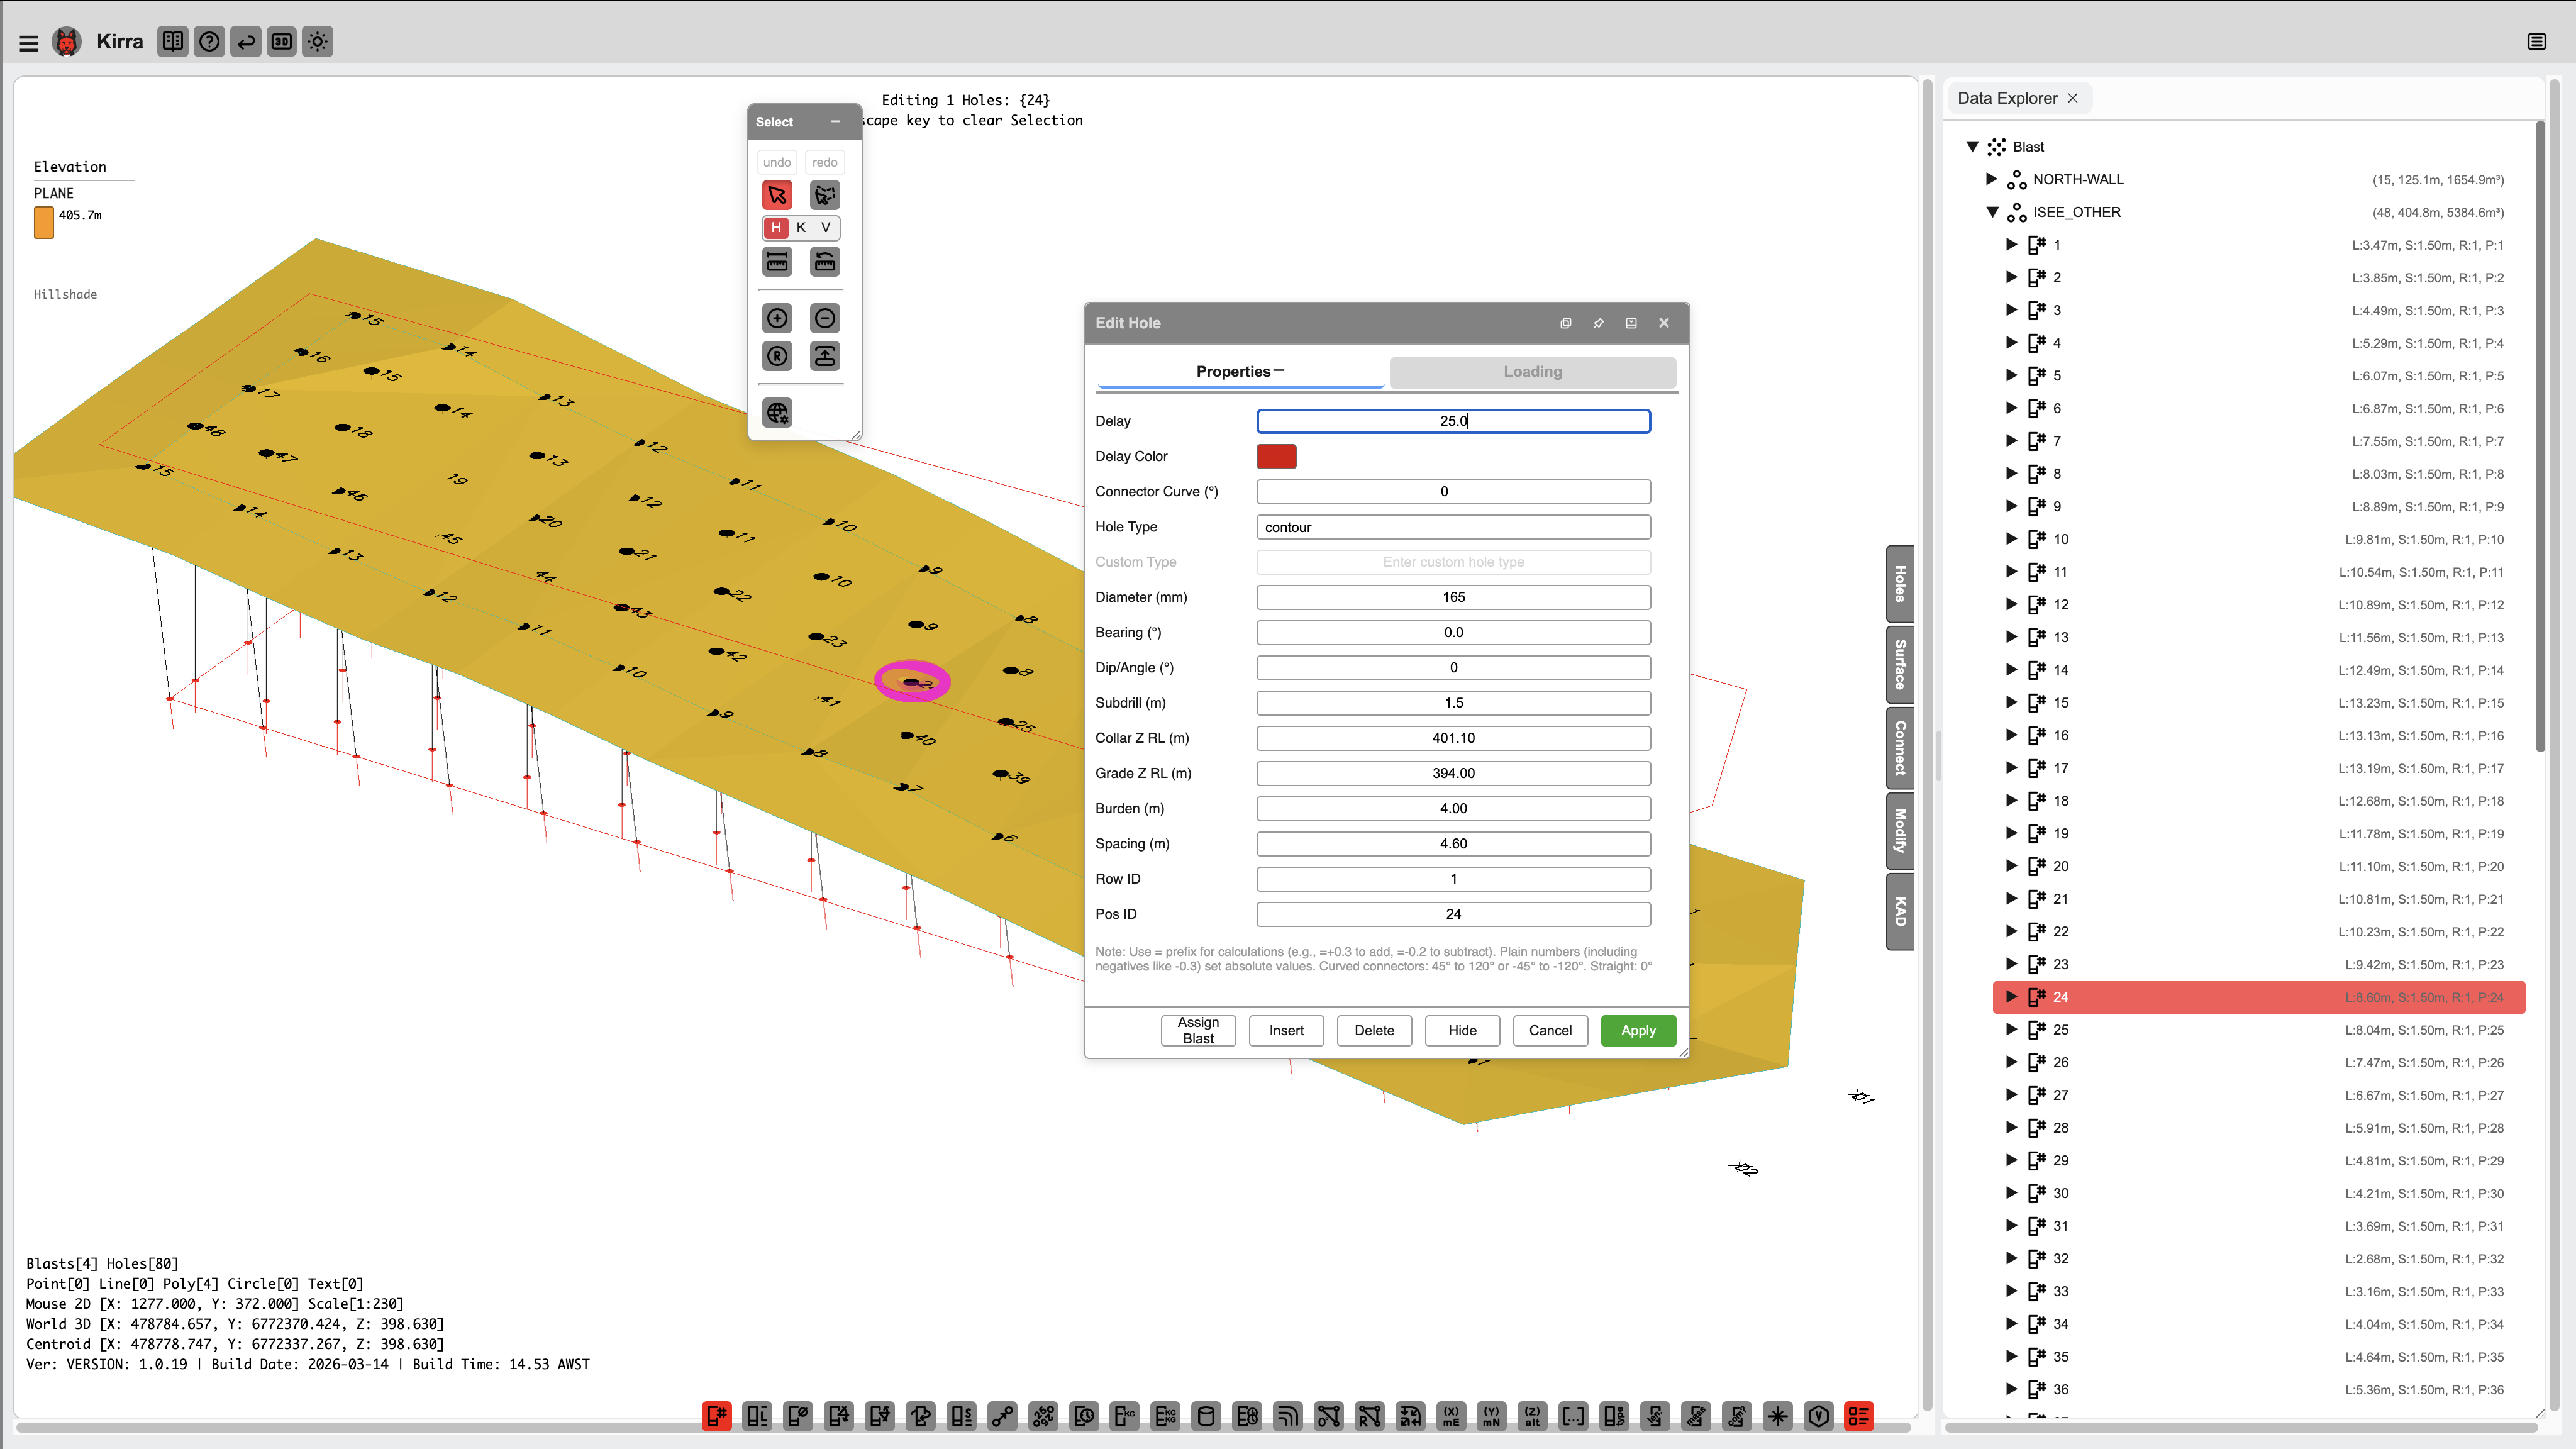 Right-click a hole to view and edit properties, charge details, timing, and more.
Moving Holes
Drag to Move
- Select one or more holes
- Click and hold on a selected hole, then drag it to a new position
- Release to drop at the new location
- All coordinates (collar, toe, grade) update automatically
Tip: Hold
Shiftwhile dragging to constrain movement to horizontal or vertical only.
Dropping on another hole: if a moved hole lands on top of another hole in the same blast, Kirra shows a coincidence warning on drop and lets you Keep the move or Revert (snap the moved hole(s) back to where they started). See Hole coincidence below.
Move by Offset
- Select the holes you want to move
- Right-click and choose Move by Offset (or press
M) - Enter delta Easting (dE) and delta Northing (dN) values
- Click Apply — holes shift by exactly that amount
Enter Coordinates Directly
- Select a single hole
- In the right panel, edit the Easting and Northing fields directly
- Press
EnterorTab— the hole jumps to the new position
Modifying Hole Properties
Individual Hole
- Select the hole
- Edit any field in the right panel: ID, Depth, Diameter, Bearing, Angle, Subdrill, Elevation, Hole Type, or other attributes
- Changes apply immediately
- Dependent values (hole length, grade position, etc.) are recalculated automatically
Alternatively, right-click the hole and choose Properties to open the full Hole Properties dialog.
Bulk Edit
- Select two or more holes
- The right panel shows a bulk-edit form
- Fields that differ across the selection show
(mixed)— type a new value to apply it to all selected holes - Fields left blank remain unchanged
- Press
Enteror click Apply
Common bulk-edit operations:
- Change hole type for all selected holes (e.g. Production to Presplit)
- Update diameter across a selection (e.g. 115 mm to 165 mm)
- Adjust angle for all selected holes
- Set a new colour for visualisation
Deleting Holes
- Select the holes to remove
- Press
DeleteorBackspace(or right-click and choose Delete) - Undo with
Ctrl+Zif needed
Rotating a Selection
- Select the holes to rotate
- Right-click and choose Rotate Selection [VERIFY: exact context-menu label]
- Enter the rotation angle in degrees (positive = clockwise)
- Choose the pivot point: centroid of the selection, or click a custom point on the canvas
- Click Apply
Note: Rotation adjusts the X and Y coordinates of each hole. Z elevations and hole orientations (angle, bearing) are preserved.
Mirroring a Selection
- Select the holes to mirror
- Right-click and choose Mirror Selection [VERIFY: exact context-menu label]
- Choose axis: Horizontal (flip North/South) or Vertical (flip East/West)
- Click Apply
Scaling a Selection
- Select all holes in the pattern
- Open the Scale dialog [VERIFY: exact tool location — likely the right-click context menu or a future Modify toolbar entry]
- Enter scale factors for X and Y
- Click Apply
This is useful for adjusting burden and spacing across an entire pattern.
Renumbering Holes
- Select the holes to renumber (or press
Ctrl+Afor all) [VERIFY: Ctrl+A select-all] - Click Renumber Holes on the Holes toolbar
- Set the prefix, start number, and sort order (by row, by easting, by northing, or by current number) [VERIFY: exact sort options]
- Click Apply — Hole IDs update throughout the project, including any timing and charge references
Automatic Pattern Analysis
Kirra uses HDBScan clustering to automatically determine pattern structure for your holes:
| Calculated Property | Description |
|---|---|
| Row ID | Which row each hole belongs to |
| Position ID | Position within the row |
| Burden | Distance to the next row |
| Spacing | Distance to the next hole in the same row |
These values are calculated automatically and can be viewed in the right panel or exported with your data. They enable row-based operations, pattern statistics, and burden/spacing analysis.
Undo / Redo
All editing operations support undo and redo:
Ctrl+Z— undo the last actionCtrl+YorCtrl+Shift+Z— redo
Hole coincidence
Two holes in the same blast must never share an XY position — a duplicate on top of another causes double-charging, breaks the timing network, and corrupts volume/powder-factor calculations. Every tool that creates or moves a hole checks for this and warns you before it happens:
- Adding / inserting / pattern tools — if a new hole would land on an existing hole in the same blast, a proximity warning appears with Ignore (place anyway), Skip (place only the non-clashing holes), Skip All, or Cancel.
- Move tool — if a dragged hole is dropped on another hole in the same blast, the drop is flagged with Keep (allow) or Revert (snap the moved hole(s) back to their original positions).
Coincidence is only flagged within a blast (same entity). Holes from different blasts may overlap in plan view by design — they sit on different benches at different elevations. To find coincident holes across blasts, use the Coincident Hole Detector.
Related Topics
- Adding Holes — place individual holes manually
- Holes Toolbar → Insert Holes Tool — insert into a row before/after a hole
- Hole Properties Reference — every field explained
- Pattern Generation — generate patterns automatically
- Timing Sequences — assign initiation delays